Introduction to Auto Tagging
Giftship’s Auto Tagging is fully flexible, with it’s Event / Condition / Tag setup allowing for broad to very specific tagging use cases.
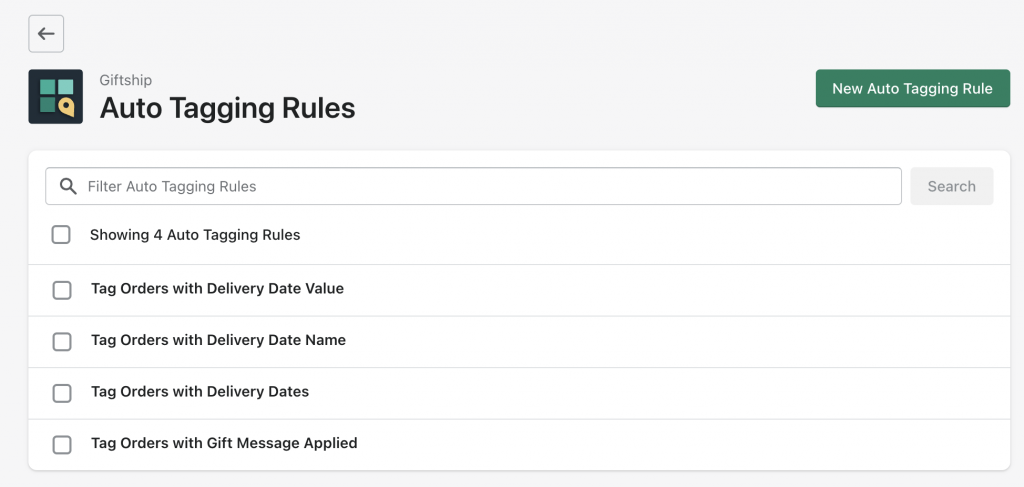
To start, open up the Auto Tagging tool within Giftship, and select New Auto Tagging Rule at the top of the page.
Next, add a Title.
Events
Auto Tagging events determine when a tag will be added to a Product, Order, Draft Order, or Customer.
These are your auto tagging targets.
Now you choose the event that will tag your target. These options can be seen here:
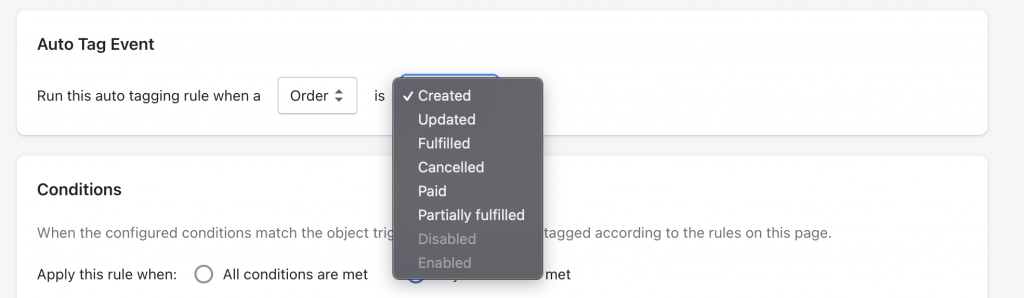
So if you are looking to tag an Order when it is placed, you would choose Order, and Created.
Conditions
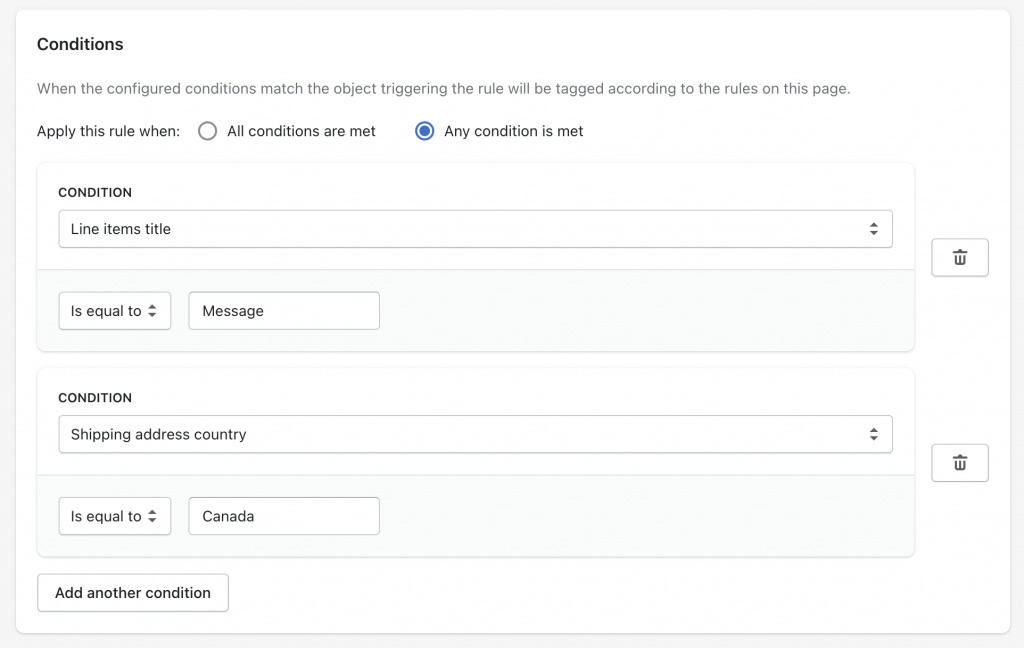
Next, you get more specific with what part of your ‘Target’ you are looking to detect.
For instance, if you are looking to tag an Order, what aspect of the order is going to be targeted.
A total order price? A shipping address country? A specific line-item property value being passed through to the order?
You can also filter and stack your conditions, allowing for very specific event targetting.
Finally, choose whether all or any of the conditions must be met to apply the tag.
Tag
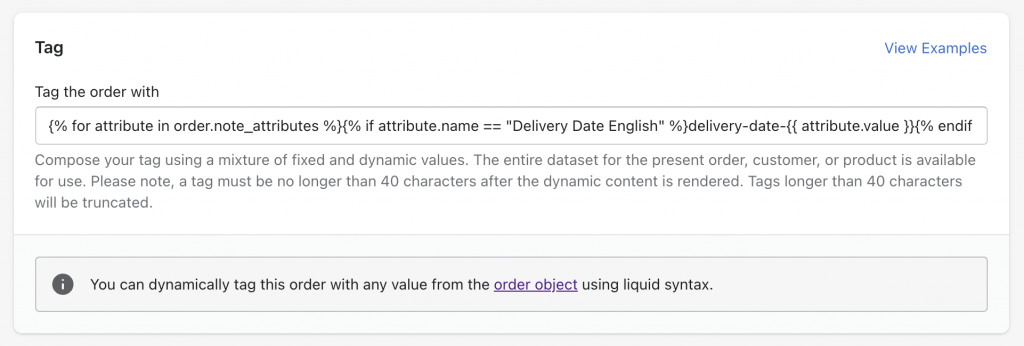
Next, compose your tag using a mixture of fixed and dynamic values. The entire dataset for the present order, customer, or product is available for use. Please note, a tag must be no longer than 40 characters after the dynamic content is rendered. Tags longer than 40 characters will be truncated.
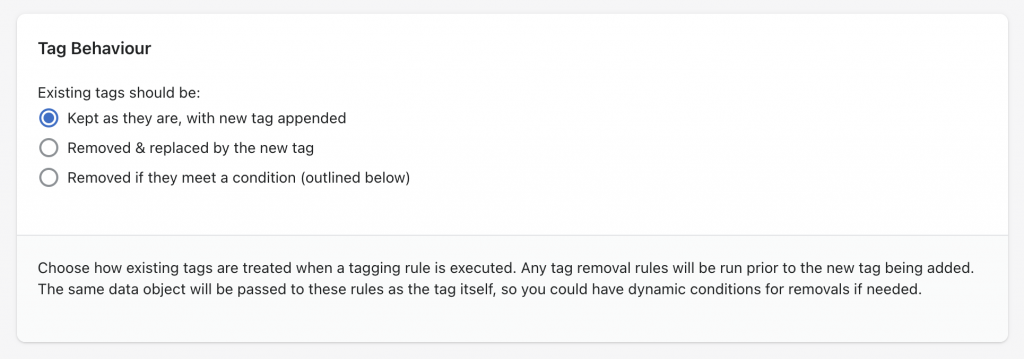
Tag Behaviour
Finally, set up how your tag will behave once it has been triggered. It can append an existing tag, remove and replace an existing tag, or remove an existing tag altogether while not adding anything new.
Here are a couple of articles that go over use cases detecting both delivery date and gift message values being added to an order from Giftship’s other tools.