Auto Tagging Orders with Gift Messages
Tagging orders with Gift Messages entered by your customer on your storefront requires the use of the Auto Tagging tool.
To set this up, new rules must be created within the Auto Tagging tool. Go to Giftship –> Auto Tagging. Depending on how you are taking Gift Messages on your storefront (product pages or cart page), the rule creation will be specific to that.
If taking Gift Messages on your Product Pages…
Go to Giftship –> Auto Tagging –> Manage Auto Tagging.
Select New Auto Tagging Rule, and enter in the title that you would like to apply to the new rule (this is only for internal purposes and will not be seen by your customers).
In the Auto Tag Event Section, select Run this auto tagging rule when an Order is Created.

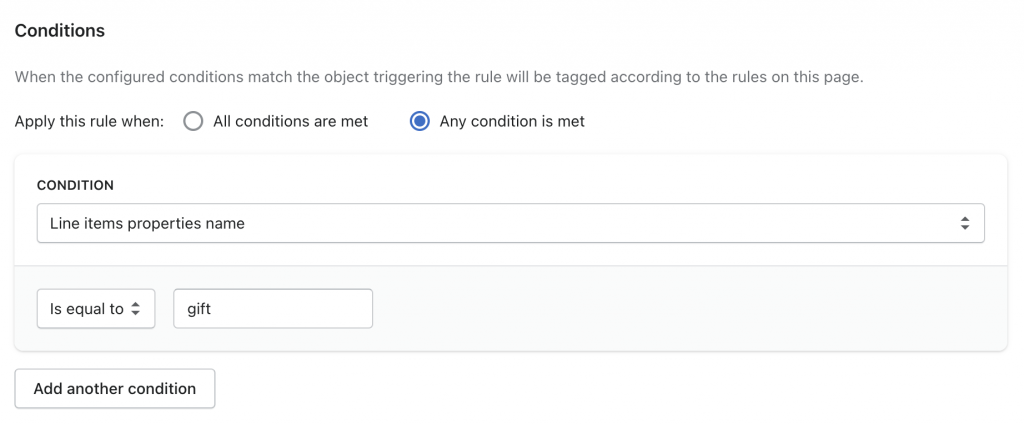
In the Conditions section, select the Condition Line items properties name. This is where in the order the data is initially passed through to.
We then must choose a Line item property name that we would like to use to detect.
For instance, see how these Line item properties are passed through to an order if all of the gift message options are enabled, and if the “Is this a gift?” checkbox is enabled.
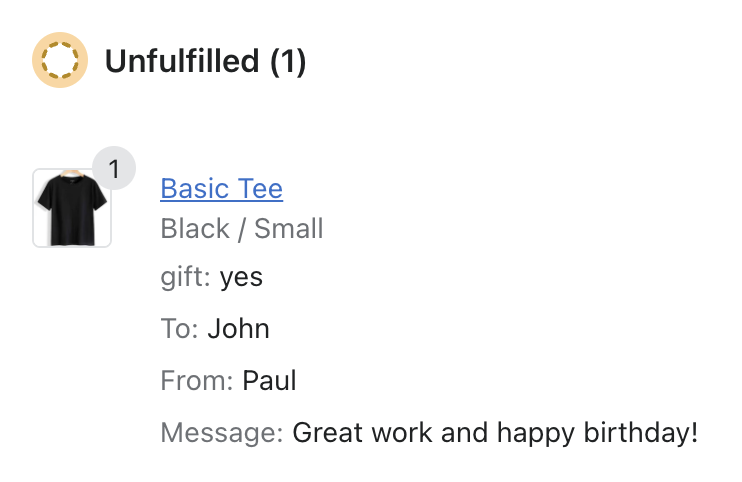
There are 4 Line item property names that we could choose from to create our rule out of: ‘gift‘, ‘To‘, ‘From‘, ‘Message‘.
In this case, because ‘gift‘ must be there in order for a message to be attached, let’s use that. But if you like you can use something else.
Then select Is Equal To = gift
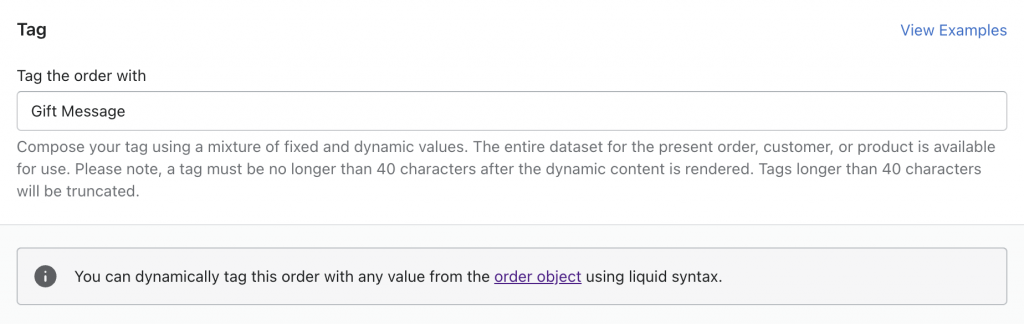
In the Tag section, you can then add whatever tag you would like to apply to this order. In this case, we will want to pass through a static value, likely something like ‘Gift Message‘.
In the Tag Behaviour section, select Kept as they are, with new tag appended.
Save the Tag, and make sure to Enable it.
You will now see this tag applied to any order in which a gift message is taken:

If taking Gift Messages on your Cart Page…
Go to Giftship –> Auto Tagging –> Manage Auto Tagging.
Select New Auto Tagging Rule, and enter in the title that you would like to apply to the new rule (this is only for internal purposes and will not be seen by your customers).
In the Auto Tag Event Section, select Run this auto tagging rule when an Order is Created.
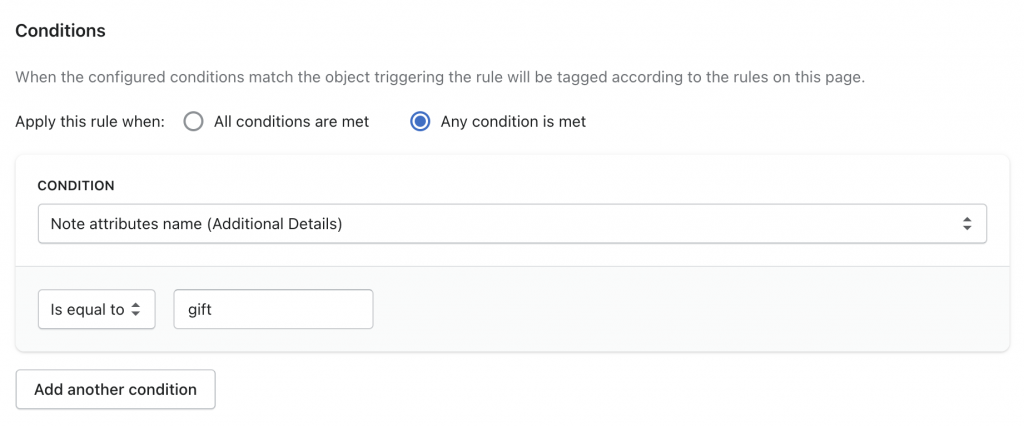
In the Conditions section, select the Condition Note Attribute Name (Additional Details). This is where in the order the data is initially passed through to.
We then must choose a Note attribute name that we would like to use to detect.
For instance, see how these Note attribute names are passed through to an order if all of the gift message options are enabled, and if the “Is this a gift?” checkbox is enabled.
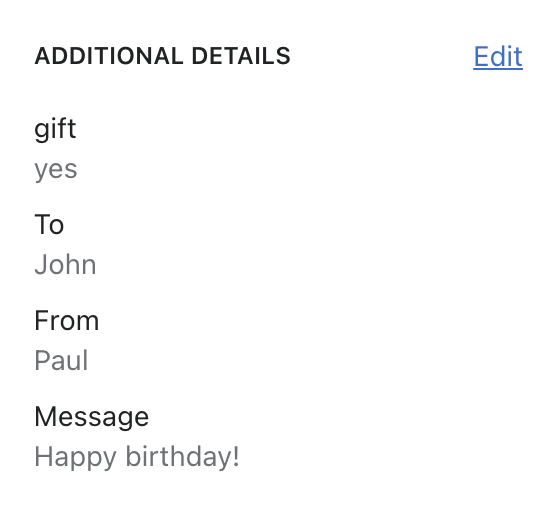
There are 4 Note attribute names that we could choose from to create our rule out of: ‘gift‘, ‘To‘, ‘From‘, ‘Message‘.
In this case, because ‘gift‘ must be there in order for a message to be attached, let’s use that. But if you like you can use something else.
Then select Is Equal To = gift
In the Tag section, you can then add whatever tag you would like to apply to this order. In this case, we will want to pass through a static value, likely something like ‘Gift Message‘.
In the Tag Behaviour section, select Kept as they are, with new tag appended.
Save the Tag, and make sure to Enable it.
You will now see this tag applied to any order in which a gift message is taken: