Custom Order Printer Templates
Create custom PDF printing templates via Giftship’s Order Printer tool.
In this article we will learn about:
- Creating a new order printer template
- Adjusting a template’s display settings
- Adding blocks of content to a template
- Preview a custom template
1) Create a Custom Order Printer Template
To create a new template through Giftship’s order printer tool:
- Navigate to Manage Templates on the Order Printer card from the Giftship dashboard
- Click on Create template to open the new template modal
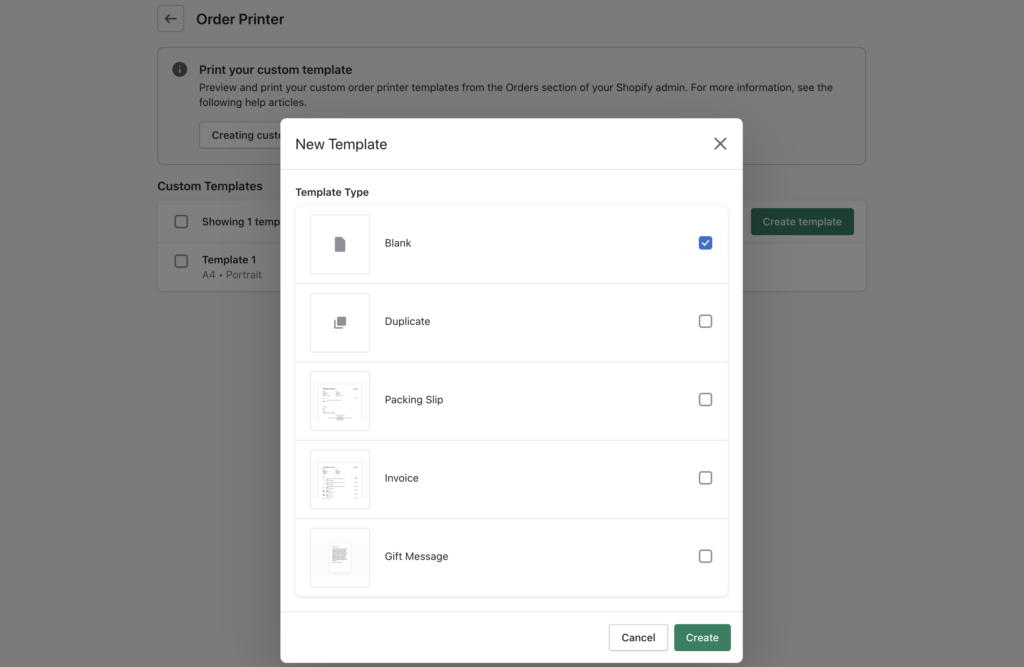
From here you will be given the option to:
- Create a new, blank template
- Duplicate an existing template, if any are present
- Start with a pre-built template that can be edited
When a selection has been made, you will be redirected to the Template Builder where you can control the display settings and content of the order printer template.
The template builder is broken down into two main tabs, seen below, for customization:
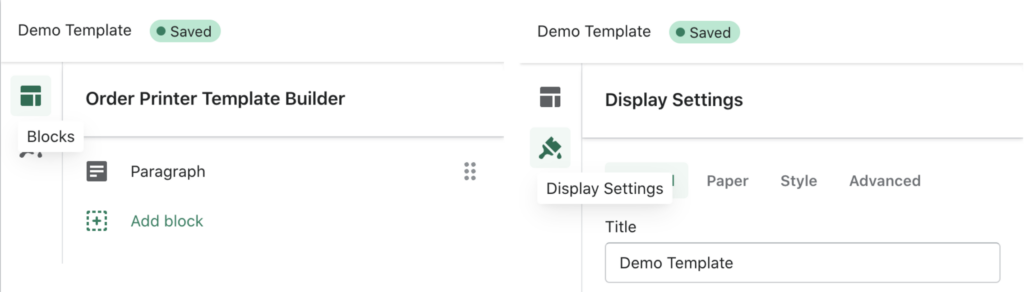
2) Adjusting a Template’s Display Settings
The Display Settings tab is broken down into 4 main sections for controlling the template’s global settings:
- Appearance – Name your template and add default styles
- Paper – Adjust the size, orientation, and margin of the paper and optionally set a custom size
- Advanced – Add custom CSS to control styling

***Note: Not all modern CSS, such as flexbox, is supported by PDFs. This may result in differences between the template builder preview and generated PDF.
3) Adding Blocks to a Template
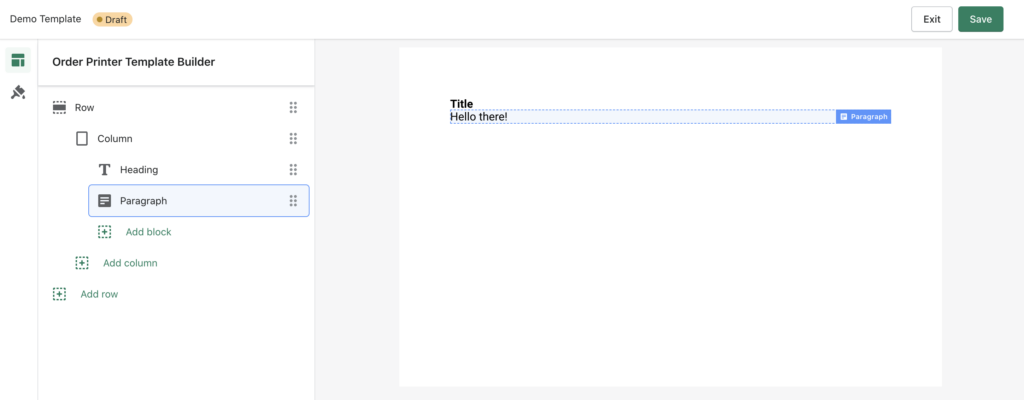
The template builder works on the idea of a grid layout, where the page is subdivided into rows and columns, which contain blocks of content. Rows are added to the page, columns are added to the rows, and content is added to the columns. Columns may also be further sub-divided into nested rows.
From the Blocks tab, we start by adding new rows to the top level of the template by clicking the Add row button.
The builder features 5 additional content blocks on top of rows and columns:
| Block | Description | Allows nesting? | HTML Support | Liquid Support |
| Row | Top-level block that fills all available width | ◯ | ✕ | ✕ |
| Column | Subdivides rows and fills all available height of parent row | ◯ | ✕ | ✕ |
| HTML | Display custom HTML markup | ✕ | ◯ | ◯ |
| Heading | Display a title | ✕ | ✕ | ◯ |
| Paragraph | Add paragraphs of text | ✕ | ✕ | ◯ |
| Image | Add an image from a URL | ✕ | ✕ | ◯ |
| Spacer | Add spacing and borders between blocks | ✕ | ✕ | ✕ |
As seen above, some blocks support Liquid templating, namely for order and shop attributes, but when creating the template the liquid will not be parsed. To preview your template with Liquid parsing, see below.
For more information on Liquid, see Shopify’s documentation: https://shopify.dev/docs/api/liquid
4) Previewing a Custom Template
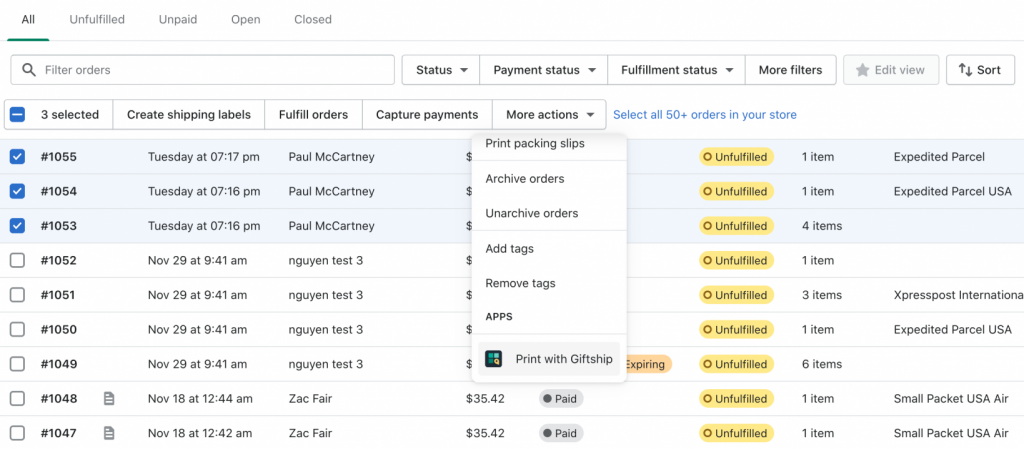
To preview your custom template with dynamically inserted order and shop data, navigate to:
Shopify Order queue -> select the checkbox next to the order(s) you would like to print -> select More Actions -> Print with Giftship
From here click on the Custom Templates tab at the top of the screen and select your template from the dropdown.
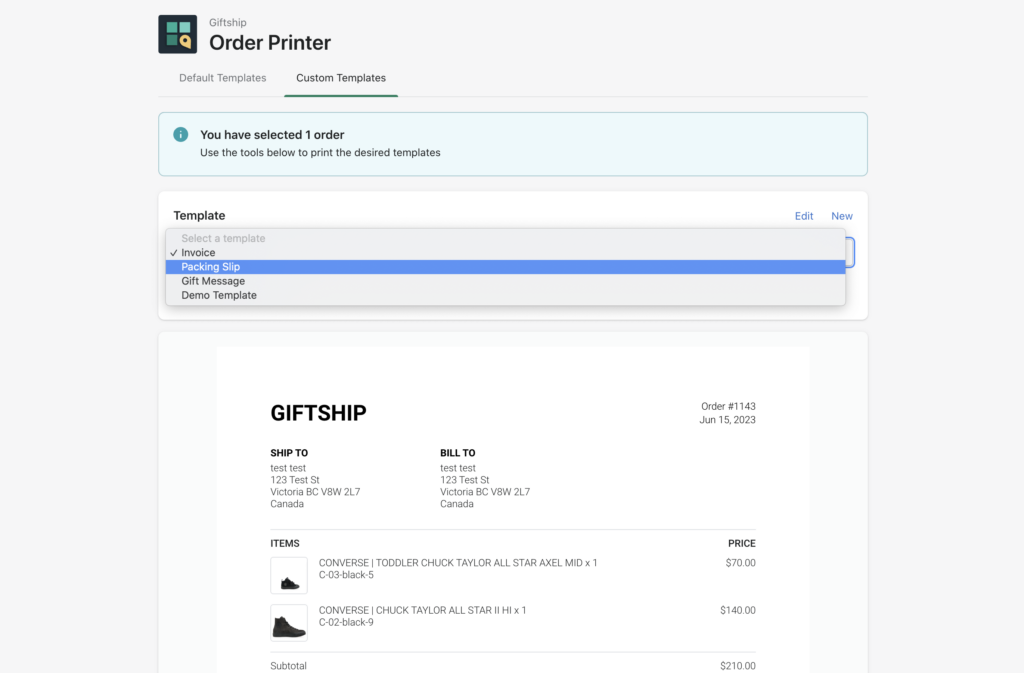
Click Print to open the order template in a new tab or Download to save a copy.