Styling you Product Options Image Row Upsell Components
Styling your Product Options Upsell Components requires manual overrides. It is often best to work with a developer on such edits, but does not require deep coding knowledge.
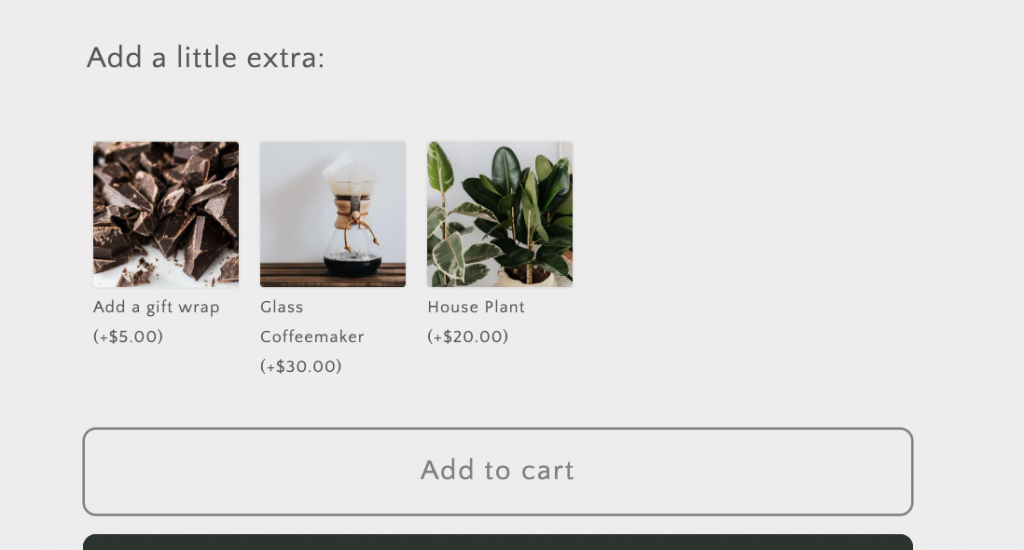
By default, the Upsell options will appear above the Add to Cart button on your Product Page. As seen here:
Now let’s go through some styling specifics (All of these will include updating your theme files. To access these, go to Online Store –> Themes –> Theme –> More Actions –> Edit Code)
Removing the Brackets from the Price
Go to your theme.liquid file, and above the closing </body> tag add the following script:
<script>
(function() {
var GS = {
init: function() {
GS.events();
},
events: function() {
document.addEventListener('giftship.loaded', GS.functions.onLoad);
},
functions: {
onLoad: function(e) {
console.log(e);
var elements = document.querySelectorAll("label.gs__option-upsell-label div");
elements.forEach(function(element) {
var elementText = element.innerHTML;
cleanText = elementText.replace('(', '').replace(')', '');
console.log("Element: ", cleanText);
element.innerHTML = cleanText;
})
},
},
};
GS.init();
})();
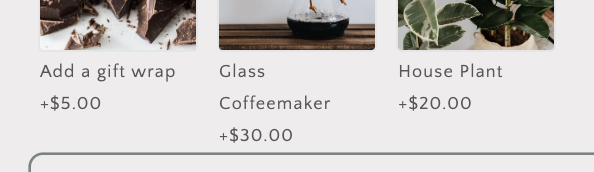
</script>You’ll now see the prices rendering without the brackets:
On Click Border Color
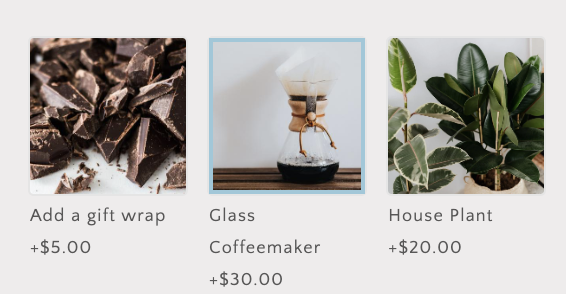
When one of the options is chosen, a default border color will render:
This can be customized by entering in the following code to a relevant spot in your theme files.
<style>
      [data-child-type=upsell] ul li input[type=checkbox]:checked+.gs__option-upsell-visual, [data-child-type=upsell] ul li input[type=radio]:checked+.gs__option-upsell-visual {
      border: 2px solid #000000!important;
      }
</style>
The hex code and px size will determine the color and thickness of the border. For instance, the above turns it black and 2px thick.
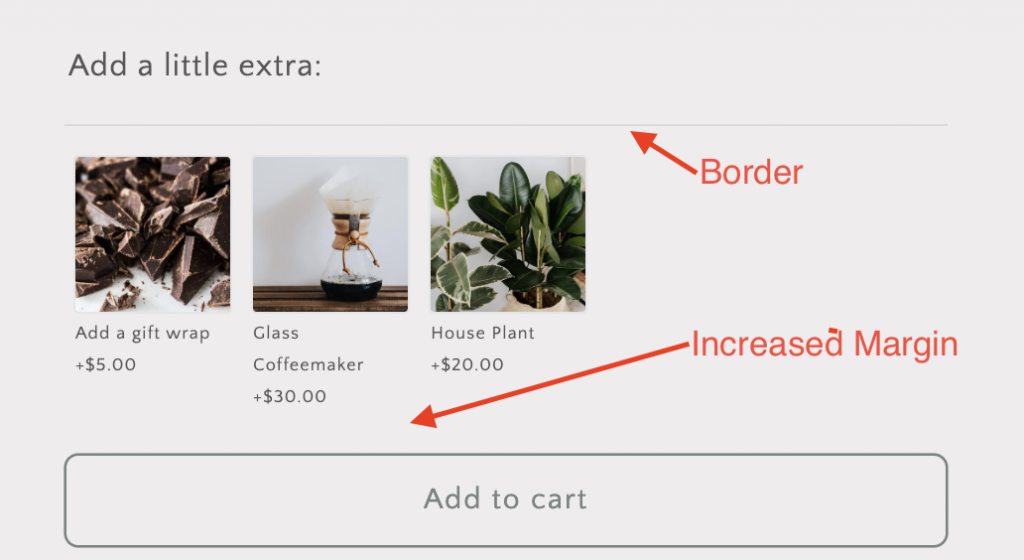
Adding Space Between the Options and the Add to Cart Button and a Border on top
Between the same <style> tags, enter the following snippet of code:
        [data-child-type=upsell] ul {
          margin-bottom: 40px!important;
          border-top: 1px solid #dadada;
        }
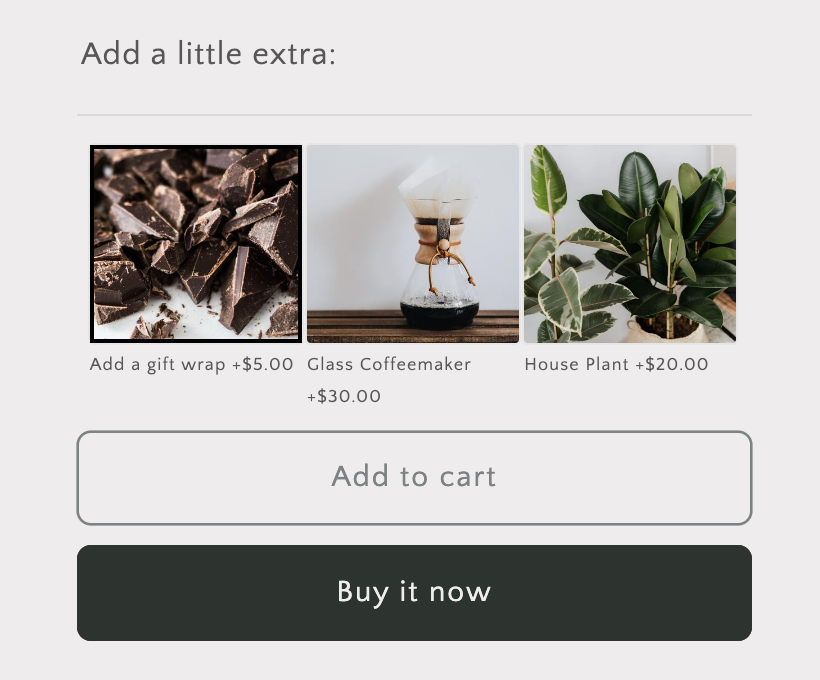
Changing the Image Sizes
To get the images full-width within the product form column, depending on the number of upsell images you have, and your spacing requirements – a combination of targeting the following items is required. Again, enter within the same <style> tags above:
[data-child-type=upsell] ul {
margin-bottom: 20px!important;
border-top: 1px solid #dadada;
}
[data-child-type=upsell] ul li label.gs__option-upsell-label {
width: 100%;
height: 150%;
}
[data-child-type=upsell] ul li {
margin-right: 0px;
margin-left: 0px;
}
[data-child-type=upsell] ul li {
width: 32%;
}
.gs__product-option {
margin-bottom: 30px;
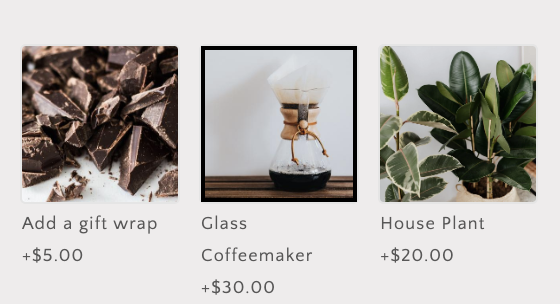
}The above results in the following change:
Updating Font, Size, and Weight of Text Used
A combination of targeting the following elements is required:
      .gs__row .gs__field {
    font-family: Visby CF,sans-serif!important;
    font-weight: 600!important;
    text-transform: uppercase;
    letter-spacing: .2em;
      }

      .gs__row .gs__field label {
        color: #6a6a6a!important;
        font-weight: 200!important;
        text-transform: none!important;
        letter-spacing: .1em!important;
      }

      .gs__row .gs__field label data-gsmoney {
        font-weight: 900!important;
      }